So onto today's experiment which is one of my absolute favorites! The kids play a big role in the one so they really enjoy it plus you can do with stuff you have around the house- what is better than that?!

First let's start off with some materials:
There are a many places you can look up to find different materials for this experiment. Such as here.
 I just used what we had on hand:
They worked great. Now we have couple options you can layer them by heaviest first which is easiest to do and gives the best results. The order for that would be: honey, syrup, soap, water, rubbing alcohol, oil. Or you could just put them in and see where they go.
For younger students this would be the easiest. I would start with water (colored with food coloring) and then put in different liquids to see if it is heavier or lighter than water!
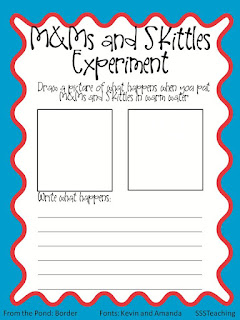
For older students I would have them predict first, because that would be pretty easy to do with some liquids then have them layer in whatever order they want and record their results on the freebie below! :)


A variation we tried was adding salt! It drags some of the liquids down but you can see where it settles and where the liquids float back up- FUN!

Once again I'm linking up with TBA for FREEBIE Friday!!!


6

First let's start off with some materials:
There are a many places you can look up to find different materials for this experiment. Such as here.
 I just used what we had on hand:
maple syrup
honey
rubbing alcohol
water
oil
dish soap
salt
They worked great. Now we have couple options you can layer them by heaviest first which is easiest to do and gives the best results. The order for that would be: honey, syrup, soap, water, rubbing alcohol, oil. Or you could just put them in and see where they go.
For younger students this would be the easiest. I would start with water (colored with food coloring) and then put in different liquids to see if it is heavier or lighter than water!
For older students I would have them predict first, because that would be pretty easy to do with some liquids then have them layer in whatever order they want and record their results on the freebie below! :)
Click the picture to grab your copy!
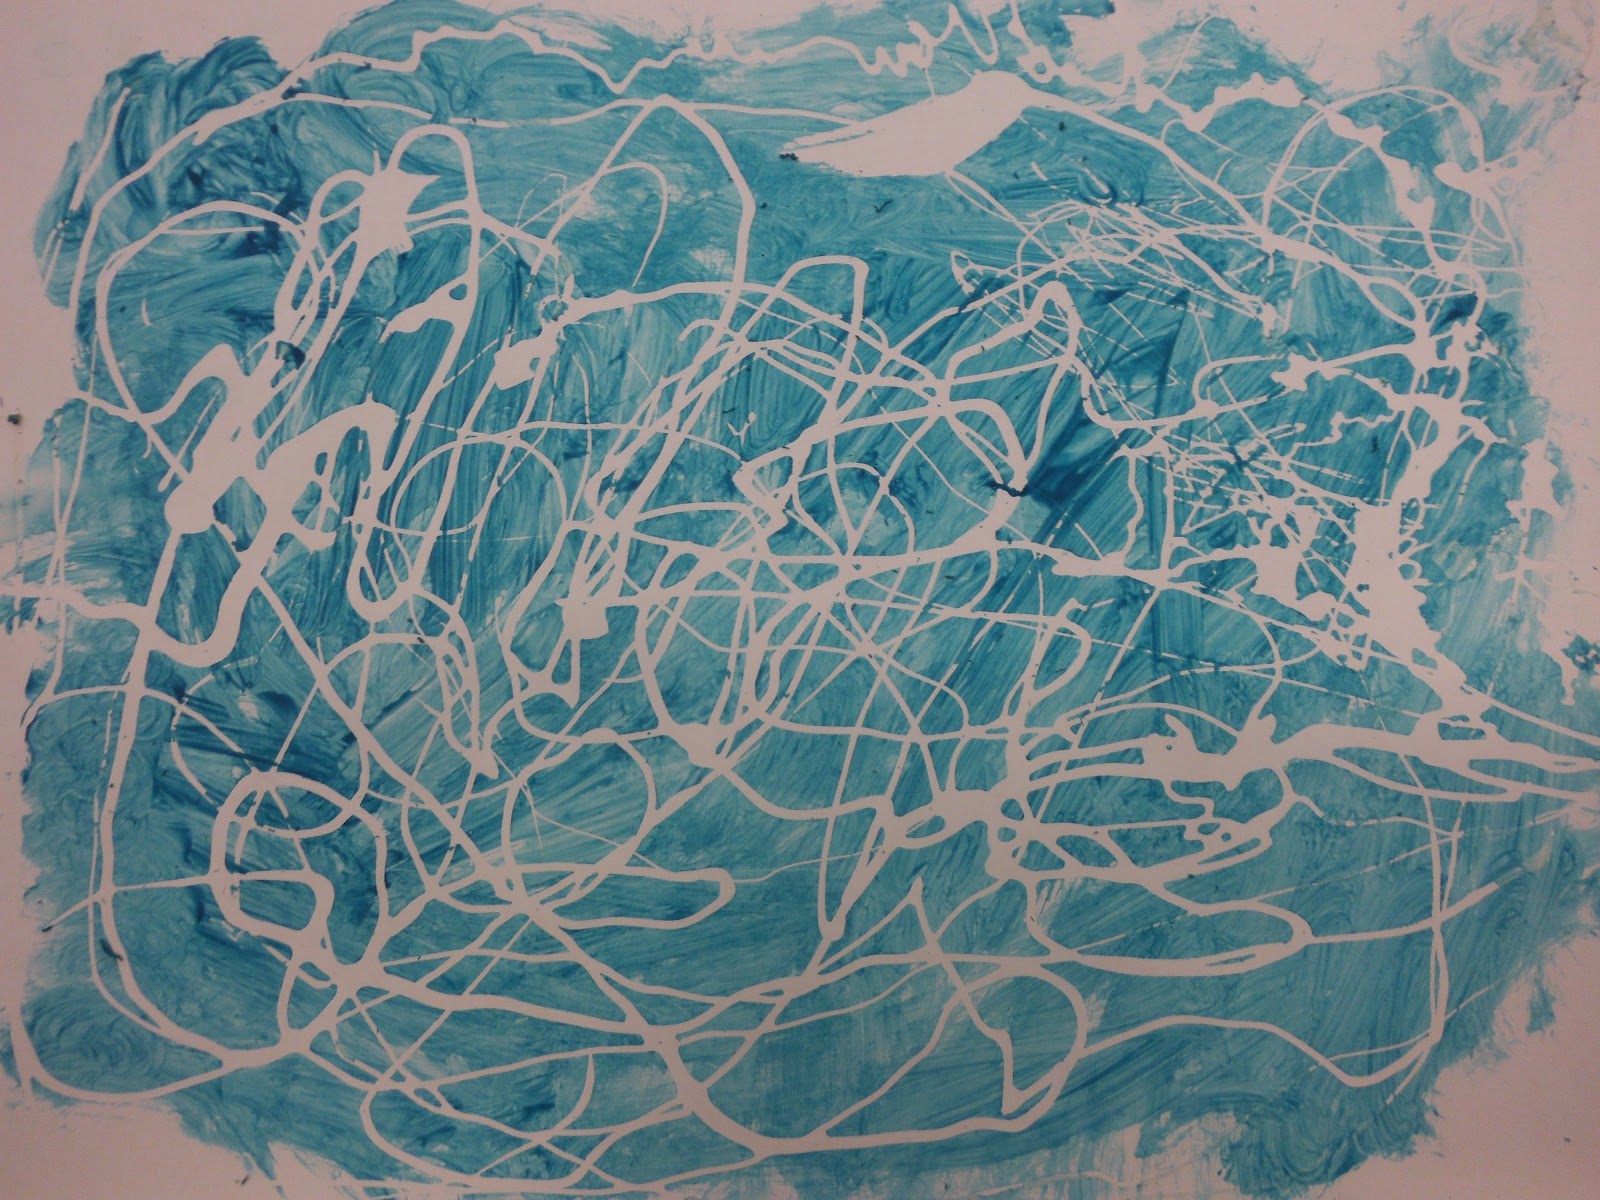
Here's some pictures of how ours went! My camera did a funny flash but the experiment itself turned out awesome. I used a test tube (to be science-y) but an empty water bottle or vase would work great!

Our rubbing alcohol was green and layered right over the blue water if you can't see it very well!

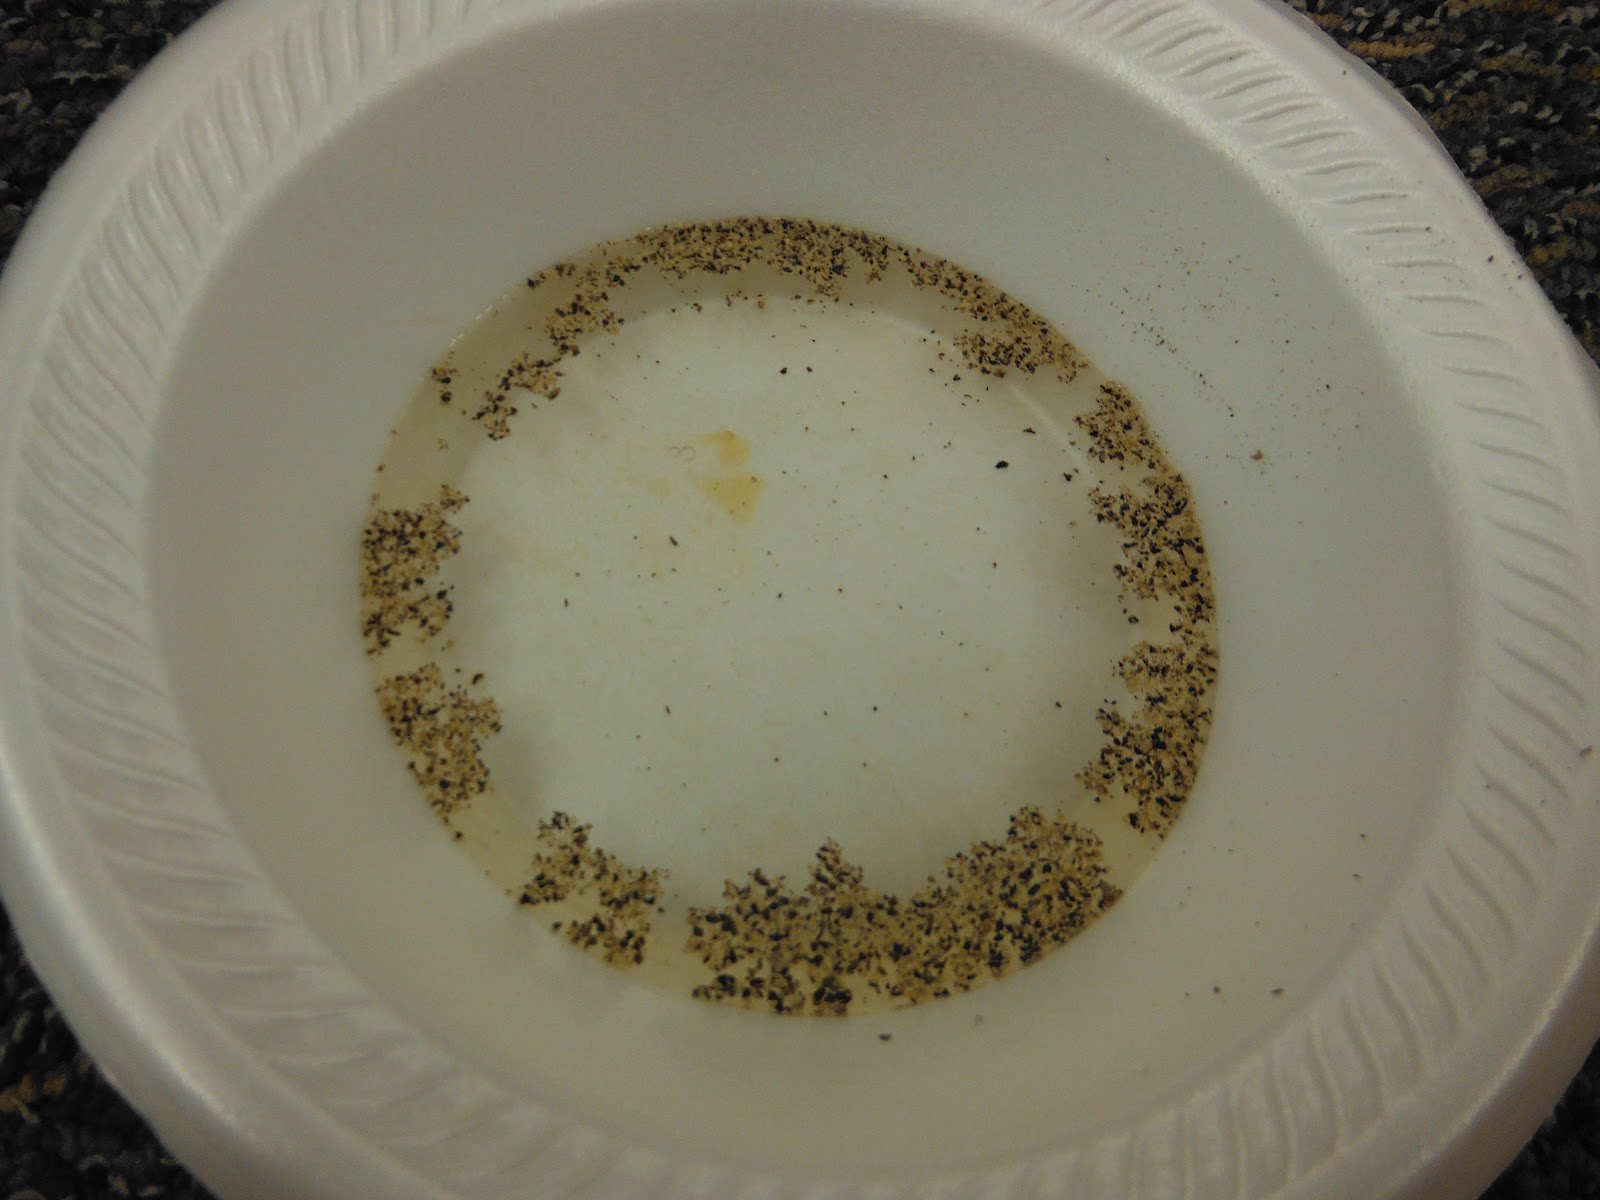
A variation we tried was adding salt! It drags some of the liquids down but you can see where it settles and where the liquids float back up- FUN!

Our salt eventually making it to the bottom, dragging along bubbles!
Once again I'm linking up with TBA for FREEBIE Friday!!!